Landscape is a fantastic genre of photography that enables you to unleash your creativity with your camera in the great outdoors. There's endless creative possibilities and, of course, camera kit to aide you in your voyage for the perfect landscape, so it can be a little overwhelming.
That's why we paired up PhotoPlus: The Canon Magazine reader Emily with award-winning landscape photographer Nick Hanson, to take some brilliant landscapes in bonnie Scotland, sharing some of his top tips and kit for landscape photography.
Nick Hanson is a Canon pro landscape photographer based on the Isle of Skye in Scotland. He leads photography workshops, tours for Skye Photo Academy and is an award-winning landscape photographer. This experience makes him the perfect person to give reader, Emily, some top tips and advice on how to shoot landscapes and waterfalls for our photoshoot in Dunkeld, Scotland.
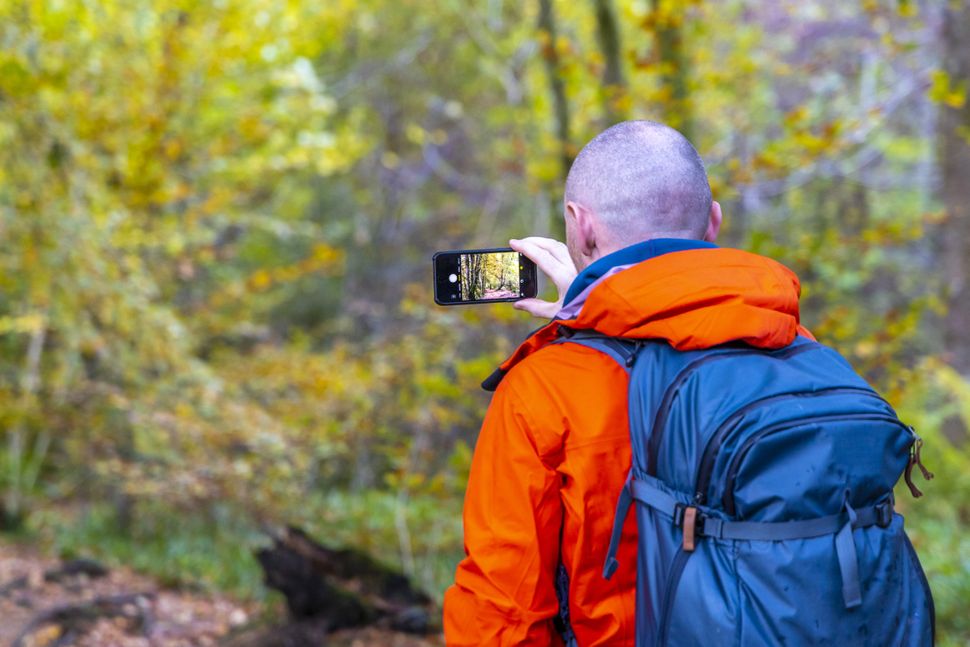
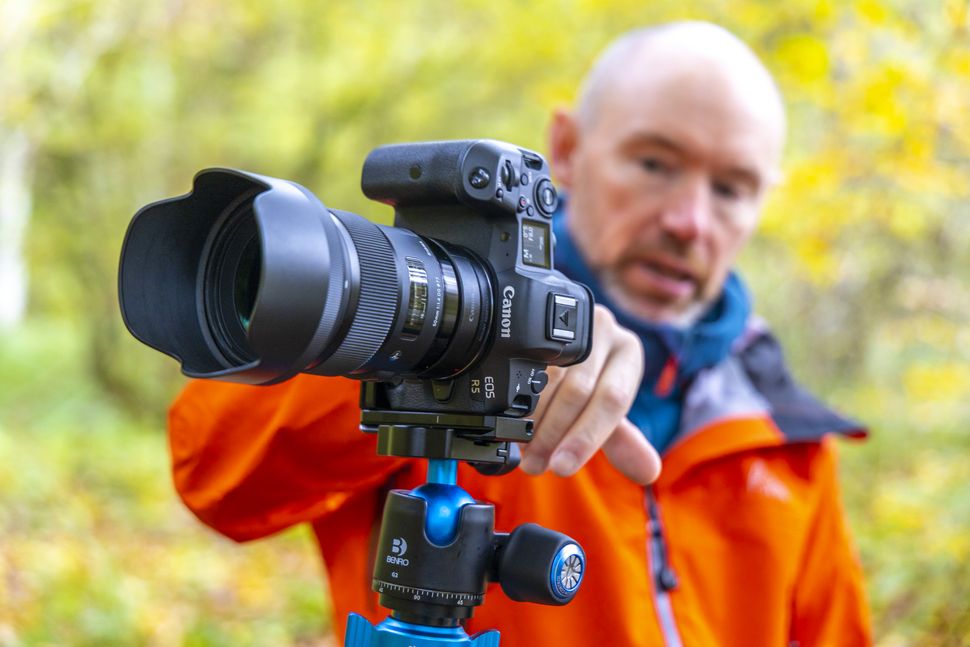
Frame up with your phone first
Nick tends to use the camera on his phone to quickly see if a scene will work compositionally for him. It can look very different on an LCD screen compared to the naked eye. Setting up his tripod, camera and filters is time-consuming, so a quick look with his phone’s camera tells him whether or not a shot will work. He also regularly uses the different aspect ratios on his phone to see if a landscape will work best in 4:3, 16:9, 1:1 and so on.
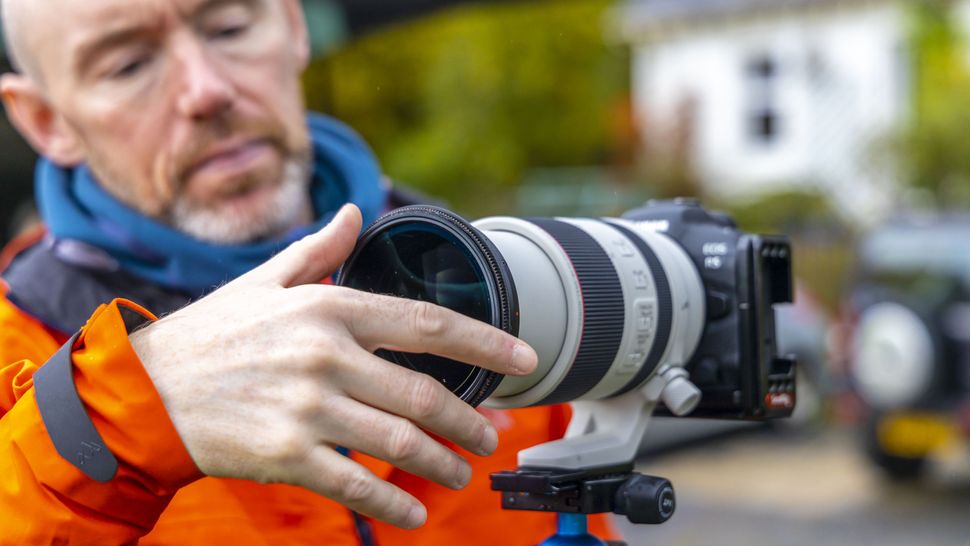
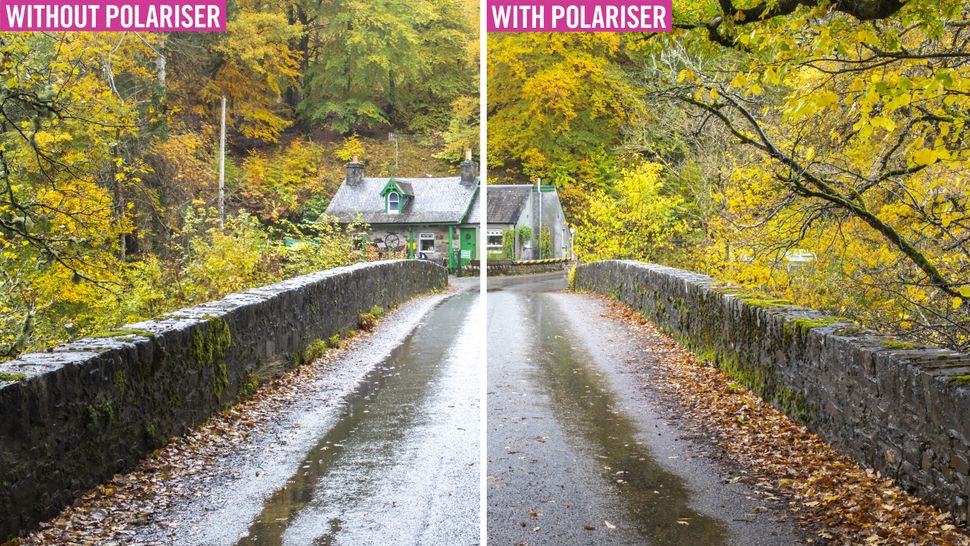
Try a polarizing filter
Polarizing filters are essential for landscape photography as they help remove scattered light from your scenes. This is especially useful on rainy days, like we were shooting on, as there are a lot of reflections on the ground and leaves. This helps cut down bright reflections, as well as glare, and helps boost the colors in the scene for better landscape shots.
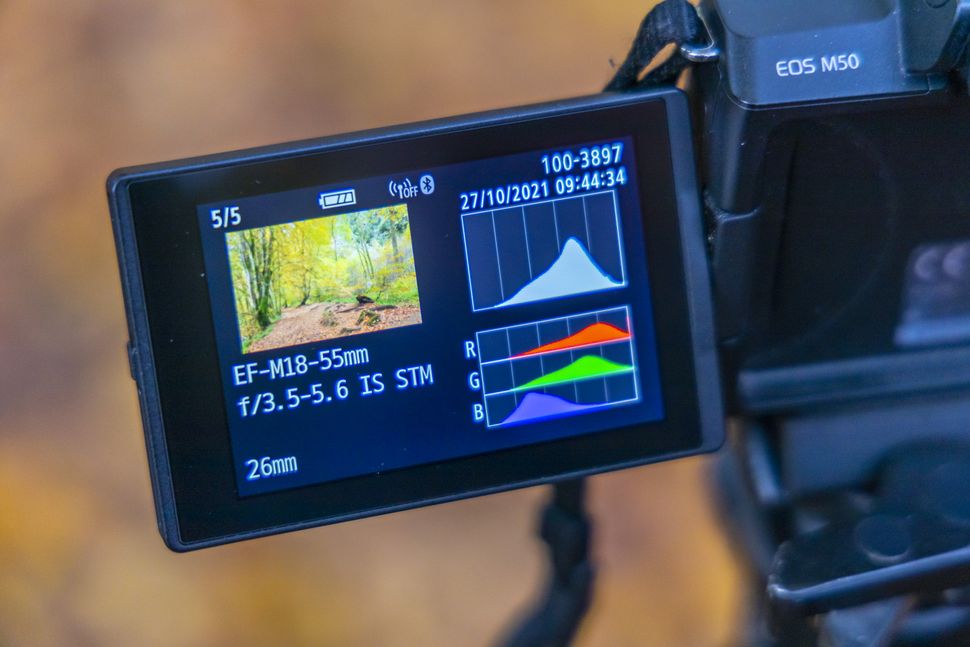
Check the histogram
Nick showed Emily how he uses the histogram when composing his shots to make sure that all of the tones in his images come out perfectly. The white histogram shows an overall mixture of tones: bunched up on the left means the image is underexposed and on the right would mean it’s overexposed. Nick is more interested in the RGB histogram underneath, which shows if any tones in the Red, Green and Blue channels are clipping so he can tweak his exposure accordingly.
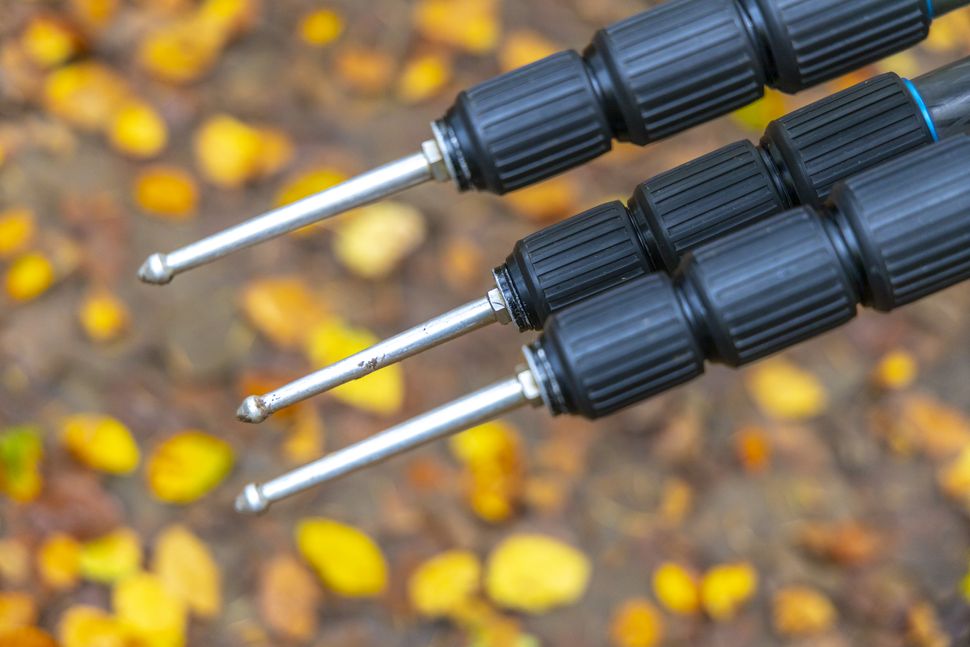
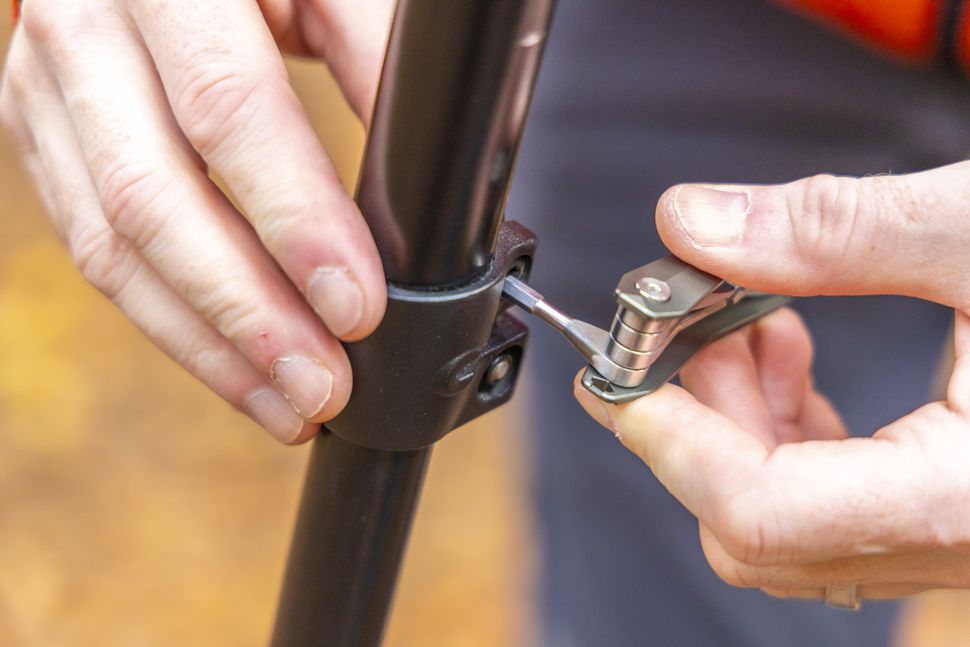
Tripod maintenance
Tripod leg lever locks can come loose over time, so Nick always has a multi-tool in his kit bag with various hex keys on it that he can use to tighten up parts that are a problem. This keeps your tripod in tip-top condition so that the legs won’t slip during long exposures, which can make images appear soft. Nick noticed that Emily’s tripod was slipping in some of her exposures, so gave it a quick tighten to make sure it was solid as a rock.
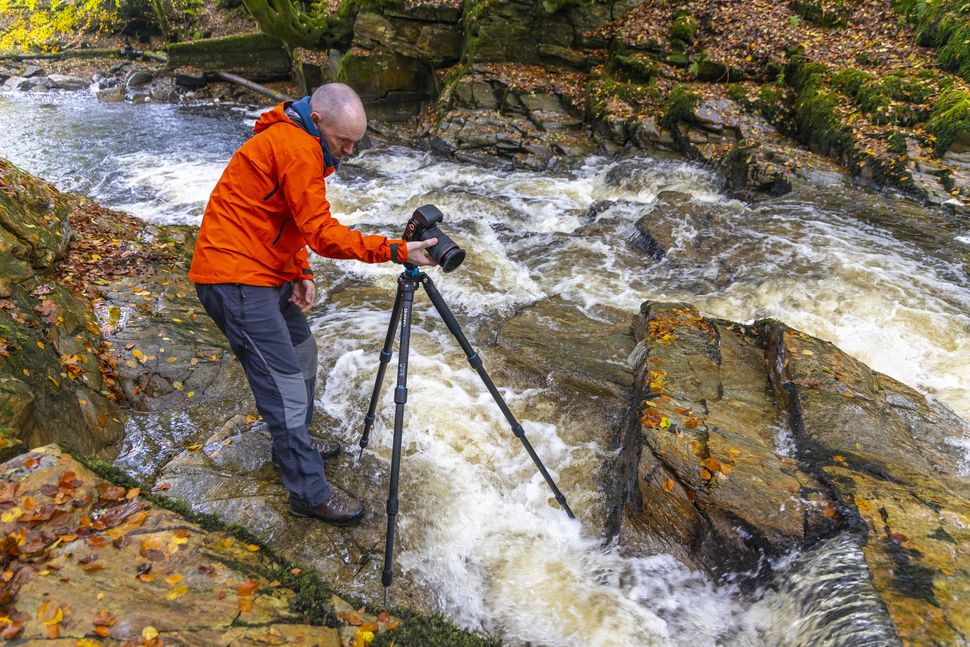
Carbon fiber tripod
A tripod is essential for landscape work. It not only helps you eliminate camera-shake from hand-holding your camera, it also enables you to use slow shutter speeds to turn moving elements within the frame, such as water or clouds, into an ethereal blur. You can also take your time to perfect compositions. Nick’s tripod of choice is a carbon fiber Benro TMA38CL Mach3, which he’s paired with a Benro G2 ball head for rapid composing. On top of that, he uses spiked feet, which help dig into the ground, sand or rocky terrain for superior stability.
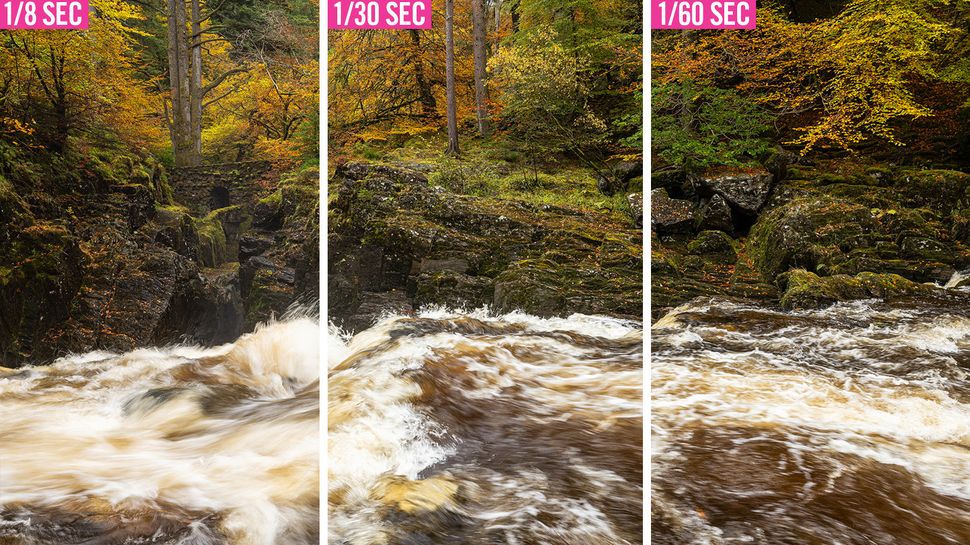
Experiment with different shutter speeds
With your camera locked off on a tripod you can slow your shutter speed to inject motion into moving elements within the scene such as clouds or, in this case, the river. At 1/60 sec the water is very static and almost frozen in time, but slowing the shutter speed down to 1/8 sec has turned it into a much more exciting blur. You can slow your shutter speed down with a high aperture value (such as f/16), low ISO (like ISO100) and ND filters.
Quick composition changes with an L-bracket
Nick uses a SmallRig L-bracket on his Canon EOS R5, which enables him to quickly switch between portrait and landscape orientations, helping him compose rapidly before the perfect light disappears. An L-bracket also helps keep your tripod balanced and stable, as the weight from the camera is always coming from the top of the tripod.
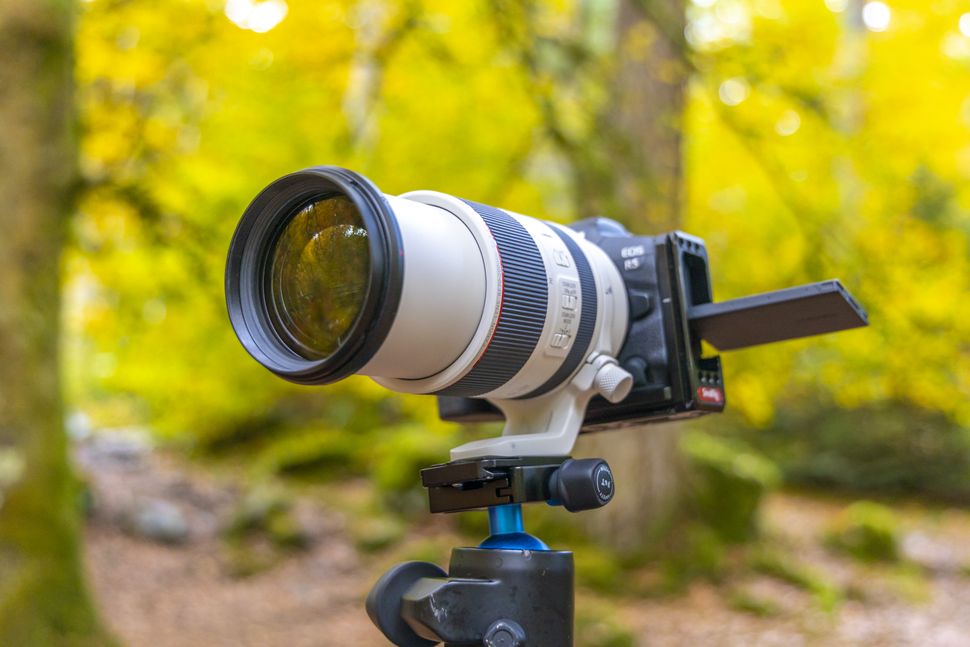
Telephoto lens
You may not associate a large telephoto zoom lens with landscape photography, but a long zoom lens can actually be very beneficial. Nick uses a Canon RF 70-200mm f/2.8L IS USM lens for landscapes where it’s useful to zoom in and pick out a specific part of a scene. It also helps to compress the scene, which makes it easier to bring attention to your focal point and cut out other distractions around the frame.
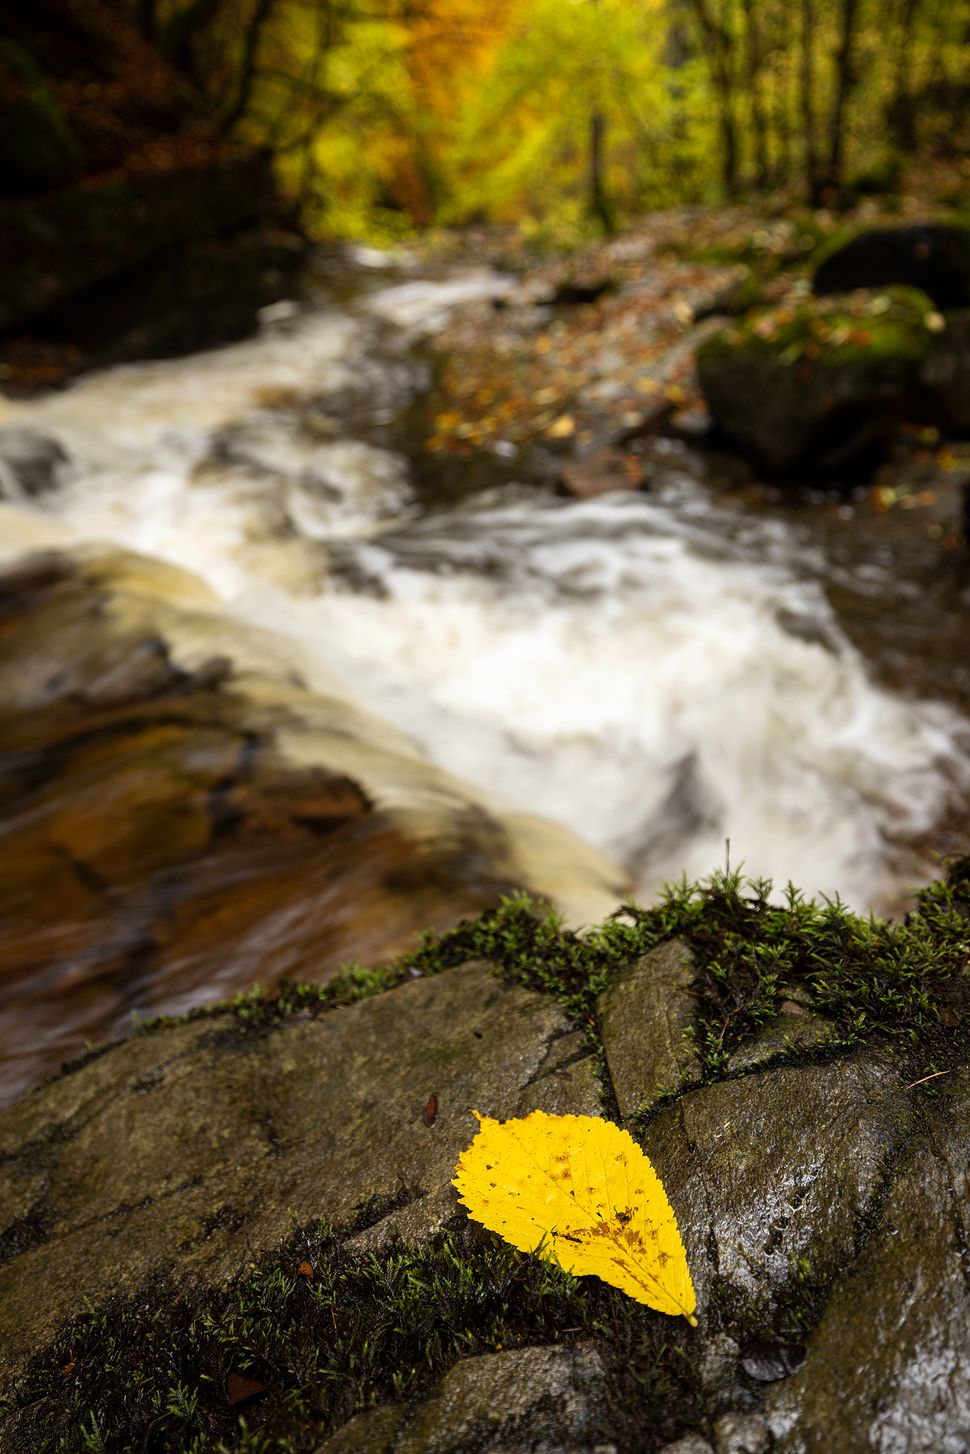
Try a shallow depth of field
Adding some foreground interest is a great way to anchor your landscapes and ensure that there is something eye-catching in the bottom third of the frame to draw the eye in. In this waterfall shot we had a rock in the foreground with a slightly out of focus waterfall behind. By adding a bright yellow leaf to the rocky foreground we’ve instantly made it much stronger, as the vibrant yellow leaf really pops out.
Go wide for a more expansive perspective
After upgrading to his EOS R5 mirrorless, Nick decided to invest in the Canon RF 15-35mm f/2.8L IS USM wide-angle lens, rather than use an adapter with his EF wide lens. Nick has found the new native RF optic to be a fantastic investment, as it’s razor sharp. He says if he could only take on lens on a shoot it’d be this, as it’s super wide and has a fast f/2.8 maximum aperture.


Post a Comment for "Best 10 Pro Landscape Photography Tips: Take Amazing Shots Of The Great Outdoors"